Authentication Methods
When browsing specific API documentation, the authentication type for each API method will be indicated:
Authentication types are as follows:
Auth: None No authentication required
No
Authorizationheader needs to be sent.Auth: JWT Required Authentication required
An
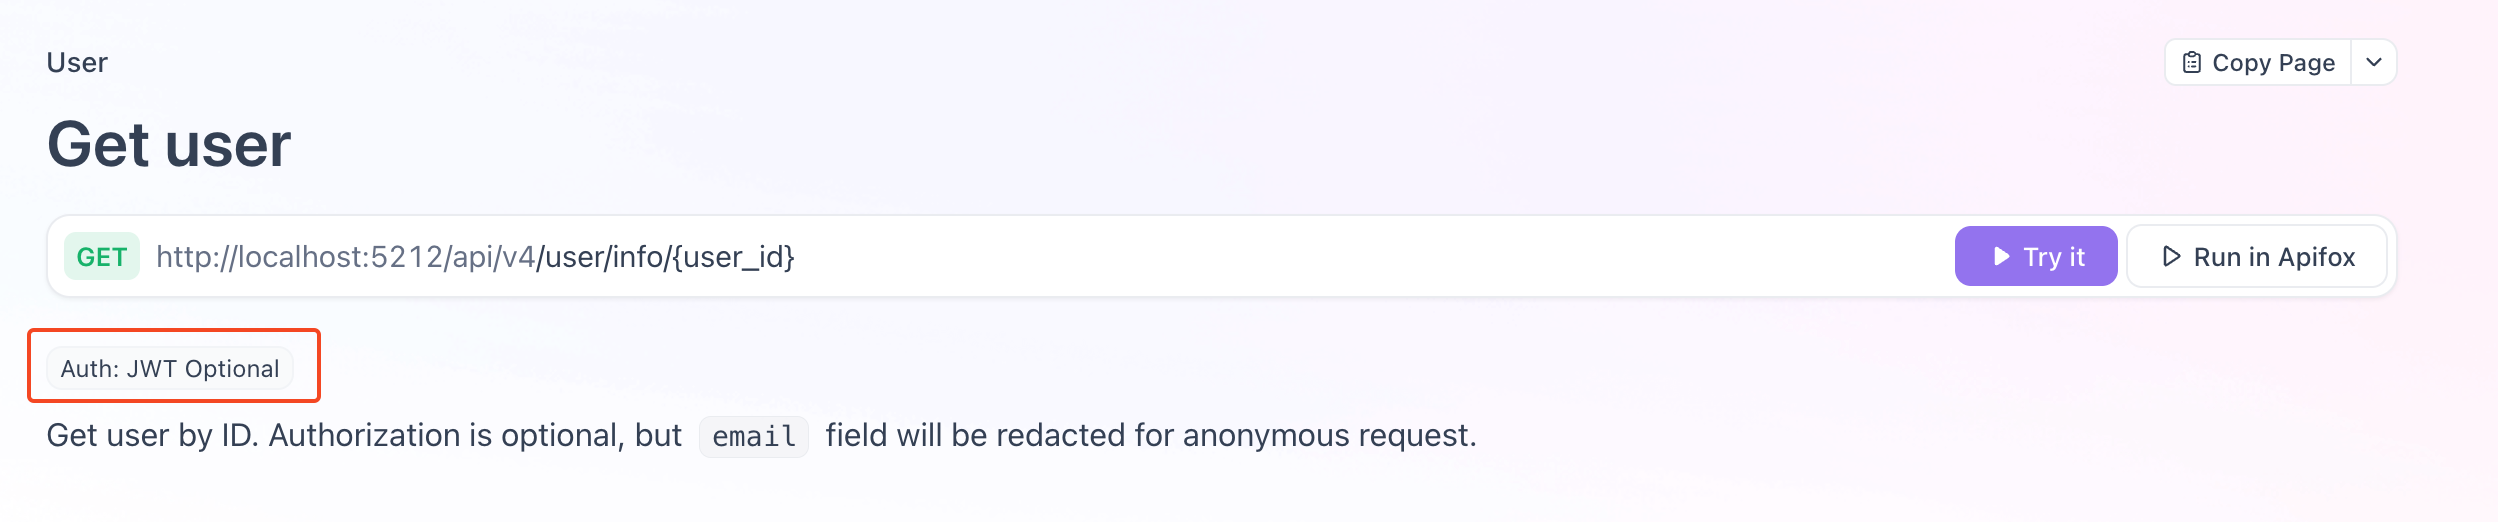
Authorizationheader is required, in the formatBearer <AccessToken>. Refer to the sections below on how to obtain or generate anAccessToken.Auth: JWT Optional Optional authentication
Sending the
Authorizationheader is optional. If sent, the request will be executed as the authenticated user; if not sent, the request will be executed as an anonymous user.
Obtaining AccessToken via OAuth (Recommended)
Cloudreve supports the standard OAuth 2.0 authorization code flow, allowing third-party applications to securely obtain user authorization. This is the recommended method for applications that need to access Cloudreve on behalf of users.
Registering an OAuth Application
Before using OAuth, you need to register your application in the Cloudreve admin dashboard:
- Log in as an administrator and navigate to
Dashboard->OAuth Apps - Click
New OAuth App - Fill in the required information:
- App Name: The name displayed to users during authorization
- App Icon: Icon URL or Iconify icon name (e.g.,
mdi:application) - Client Secret: Generate or provide a secret key (keep this secure)
- Redirect URIs: One or more callback URLs that your application will use to receive the authorization code (one per line)
- Permissions (Scopes): Select the permissions your application needs
- Save the application and note down the
Client IDandClient Secret
Authorization Flow
1. Redirect User to Authorization Page
Redirect the user to the authorization endpoint with the following parameters:
GET /session/authorize| Parameter | Required | Description |
|---|---|---|
response_type | Yes | Must be code |
client_id | Yes | Your application's Client ID |
redirect_uri | Yes | One of the registered redirect URIs |
scope | Yes | Space-separated list of requested scopes |
state | No | Custom state string, will be passed to redirect URI |
code_challenge | No | PKCE code challenge (recommended) |
code_challenge_method | No | Must be S256 if code_challenge is provided |
Example authorization URL:
https://your-cloudreve-site.com/session/authorize?
  response_type=code&
  client_id=393a1839-f52e-498e-9972-e77cc2241eee&
  redirect_uri=https://your-app.com/callback&
  scope=openid%20profile%20offline_access%20Files.Write&
  state=random_state_string&
  code_challenge=E9Melhoa2OwvFrEMTJguCHaoeK1t8URWbuGJSstw-cM&
  code_challenge_method=S256
2. User Authorizes the Application
The user will be prompted to log in (if not already) and authorize the requested permissions. Upon approval, Cloudreve redirects the user back to your redirect_uri with:
https://your-app.com/callback?code=AUTHORIZATION_CODE&state=<state>3. Exchange Authorization Code for Tokens
Make a POST request to the token endpoint to exchange the authorization code for access and refresh tokens.
Refer to the Exchange token API documentation.
POST /api/v4/session/oauth/token
Content-Type: application/x-www-form-urlencoded

grant_type=authorization_code&
client_id=YOUR_CLIENT_ID&
client_secret=YOUR_CLIENT_SECRET&
code=AUTHORIZATION_CODE&
code_verifier=YOUR_CODE_VERIFIER| Parameter | Required | Description |
|---|---|---|
grant_type | Yes | Must be authorization_code |
client_id | Yes | Your application's Client ID |
client_secret | Yes | Your application's Client Secret |
code | Yes | The authorization code received in the callback |
code_verifier | No | Required if code_challenge was used |
Response:
{
  "access_token": "eyJhbGciOiJIUzI1NiIs...",
  "refresh_token": "eyJhbGciOiJIUzI1NiIs...",
  "token_type": "Bearer",
  "expires_in": 3600,
  "refresh_token_expires_in": 7776000
}
PKCE (Proof Key for Code Exchange)
PKCE is recommended for all OAuth clients, especially for public clients (mobile apps, SPAs) that cannot securely store a client secret. Even for confidential clients, PKCE provides additional security.
Generating PKCE Parameters
- Generate a random
code_verifier(43-128 characters, usingA-Z,a-z,0-9,-,.,_,~) - Create
code_challengeby computing the SHA-256 hash of thecode_verifier, then base64url encoding it
Example (JavaScript):
// Generate a random code verifier
function generateCodeVerifier(length = 64) {
  const charset =
    "ABCDEFGHIJKLMNOPQRSTUVWXYZabcdefghijklmnopqrstuvwxyz0123456789-._~";
  const randomValues = new Uint8Array(length);
  crypto.getRandomValues(randomValues);
  return Array.from(randomValues, (v) => charset[v % charset.length]).join("");
}

// Generate code challenge from code verifier
async function generateCodeChallenge(codeVerifier) {
  const encoder = new TextEncoder();
  const data = encoder.encode(codeVerifier);
  const hashBuffer = await crypto.subtle.digest("SHA-256", data);
  const hashArray = new Uint8Array(hashBuffer);

  // Base64url encode
  let base64 = "";
  for (let i = 0; i < hashArray.length; i++) {
    base64 += String.fromCharCode(hashArray[i]);
  }
  return btoa(base64)
    .replace(/\+/g, "-")
    .replace(/\//g, "_")
    .replace(/=+$/, "");
}

// Usage
const codeVerifier = generateCodeVerifier();
const codeChallenge = await generateCodeChallenge(codeVerifier);

// Store codeVerifier securely for use in token exchange
Refreshing AccessToken
WARNING
To receive a refresh_token, you must include the offline_access scope in your authorization request. Without this scope, only an access_token will be returned.
When the AccessToken expires, use the RefreshToken to obtain a new pair of tokens. Refer to the Refresh token method.
POST /api/v4/session/token/refresh
Content-Type: application/json

{
  "refresh_token": "YOUR_REFRESH_TOKEN"
}
Response:
{
  "code": 0,
  "data": {
    "access_token": "eyJhbGciOiJIUzI1NiIs...",
    "refresh_token": "eyJhbGciOiJIUzI1NiIs...",
    "access_expires": "2025-04-26T16:19:38.833494+08:00",
    "refresh_expires": "2025-10-23T15:19:38.833495+08:00"
  },
  "msg": ""
}
When the RefreshToken expires, or if the refresh request fails, the client should guide the user to re-authorize the application.
OAuth Endpoints Reference
| Endpoint | URL |
|---|---|
| Authorization | https://your-site.com/session/authorize |
| Token | https://your-site.com/api/v4/session/oauth/token |
| Refresh Token | https://your-site.com/api/v4/session/token/refresh |
| User Info | https://your-site.com/api/v4/session/oauth/userinfo |
Obtaining AccessToken via Login
Login
After successfully logging in via Password sign-in or other login interfaces, you will receive a pair of AccessToken and RefreshToken, along with their expiration times:
{
  "code": 0,
  "data": {
    "user": ...,
    "token": {
      "access_token": "eyJhbGciOiJIUzI1NiIsInR5cCI6IkpXVCJ9.eyJ0b2tlbl90eXBlIjoiYWNjZXNzIiwic3ViIjoibHB1YSIsImV4cCI6MTc0NTY1NTU3OCwibmJmIjoxNzQ1NjUxOTc4fQ.L1ETHHBNImNevze00QAgrrY1maZO2nefyIwdT4cb68c",
      "refresh_token": "eyJhbGciOiJIUzI1NiIsInR5cCI6IkpXVCJ9.eyJ0b2tlbl90eXBlIjoicmVmcmVzaCIsInN1YiI6ImxwdWEiLCJleHAiOjE3NjEyMDM5NzgsIm5iZiI6MTc0NTY1MTk3OCwic3RhdGVfaGFzaCI6Ikk1OCtSbmsrTHVpTkxBbjBqek9KNG45OUorV3hqL0pzbjJoRVYrUXBhelE9In0.Q2s75zxPVA3bzZyIIBau3TBvqSxIdzbiEmK1zCd-_zk",
      "access_expires": "2025-04-26T16:19:38.833494+08:00",
      "refresh_expires": "2025-10-23T15:19:38.833495+08:00"
    }
  },
  "msg": ""
}
The client should securely store the AccessToken and RefreshToken locally. When requesting an API that requires authentication, add the AccessToken to the request header:
POST /api/v4/xxx
Authorization: Bearer <AccessToken>
......
Refreshing AccessToken
When the AccessToken expires, the client should use the RefreshToken to obtain a new pair of AccessToken and RefreshToken. Refer to the Refresh token method.
When the RefreshToken expires, or if the Refresh token request fails, the client should guide the user to log in again.
Directly Generating AccessToken (Local Debugging Only)
During local debugging, if you do not want to obtain an AccessToken via login, you can use the site's master key to generate an AccessToken.
Obtaining the Site Master Key
WARNING
The master key is crucial for site security. Do not disclose it to others, and do not use this authentication method in a production environment.
The master key is generated during Cloudreve initialization and stored in the settings table in the database. You can obtain it using a database management tool or the following SQL statement:
SELECT `value` FROM `settings` WHERE `name` = 'secret_key';Generating AccessToken
Use the HS256 algorithm and the site master key to generate a JWT token for the following payload, to be used as the AccessToken:
{
  "token_type": "access",
  "sub": "<User ID>",
  "exp": <Unix Timestamp>, // Expiration time
  "nbf": <Unix Timestamp> // Not before time
}
Where <User ID> is the user's ID, for example, lUpa. You can obtain it in Settings -> UID.